Six Repairs to Do Before Holiday Guests Arrive
 26 October 2016

Is it your turn to host Thanksgiving? Besides planning the menu and vacuuming under the dining room table, here are six do-it-yourself fixes that may make dinner and life for your guests go smoothly during the holidays, along with a few tips on these projects:
1 | Fix leaky faucets
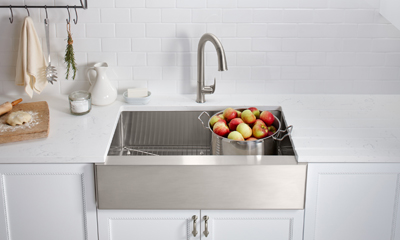
 Just in case, shut off the valve supplying water to the leaky faucet and shut off water to the rest of your house. Then remove the faucet’s handle, not the faucet itself; the leak usually stems from an issue in the on-off handle. If you have two handles, one hot and one cold, see if the drip is hot or cold and remove only the problem handle. To do that, you might have to pop off a button on top to reveal a screw or some pins. Unscrew the screw or remove the pins and a cartridge will come loose. It should have a rubber ring (or washer) inside that is causing the leak. Remove that bad washer and take it to the hardware store to buy the right replacement. Install the new washer; put the handle back on. Turn on the water again. If you have trouble with the handle or cartridge, you may need to call a plumber.
2 | Stop toilets from running
This is especially important for the sanity of guests who might be sleeping in a bedroom near the bathroom. The issue? A toilet that won't stop running probably needs a new flapper valve.
When you flush the toilet, the flapper opens to let water into the bowl. When it closes, it creates a seal to keep the water in the tank until the next flush. Because the flapper is rubber, it can decompose, warp and harden, all problems that prevent it from sealing properly. That’s why water keeps running out of the tank into the bowl.
So shut off water to the toilet. Pull the flapper valve out of the clips holding it in place, and take it to the hardware store and find a matching flapper valve. The new one will cost around $5 or so. Replace the valve in the toilet, but make sure it’s sealed tightly. Clip the new valve chain on the trip arm. Turn on the water and test the valve. If the water keeps running, adjust the flapper so the seal is water-tight.
3 | Clean the oven
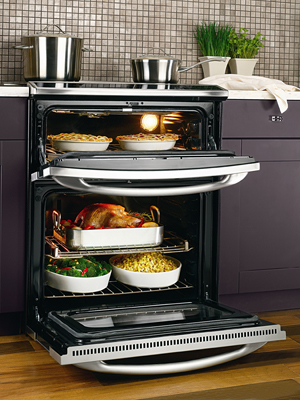
Is a year’s worth of crusty food burned on the inside of your oven? You don’t want to add the Thanksgiving turkey mess to that, now do you? Caked and burned food can also smoke and create unpleasant odors in the kitchen and dining area.
Of course, you can run the self-cleaning function on your oven if you have one. But if you don’t have one or if you don’t like the wear and tear on your oven, you might want to spray on and wipe off a chemical cleaning product. These can be very corrosive, however.
If you prefer a “greener” option, wash the oven racks in a sinkful of hot water and vinegar. Let them sit in the water for a while if you can. Meanwhile, mix baking soda with water and spread the paste over the surfaces of the oven. You might have to let that mixture sit overnight before wiping it down and rinsing it off. Spraying vinegar on the mixture can help, too. Be sure to clean out the microwave and outdoor barbecue as well before your party.
4 | Repair those sticky sliding closet doors
In this case, you probably need to completely remove closet doors from their tracks and place them on the floor to inspect them for problems. Clean out any debris inside empty tracks. Then straighten the tracks if they are bent. Do that by holding a woodblock against the track and tapping it with a hammer. Then lubricate the tracks. You might want to tighten the screws in the overhead track as well. Reinstall closet doors; test them to be sure they are sliding smoothly.
5 | Test smoke alarms and replace batteries
You want smoke alarms to work well when you light your fireplace and cook dinners during the holidays, but you also do not want them to start beeping at 2 a.m. when guests are sleeping in your house because the batteries are wearing out. If you can’t remember when you last replaced the batteries, do it now.
6 | Install path lights that lead to your front door
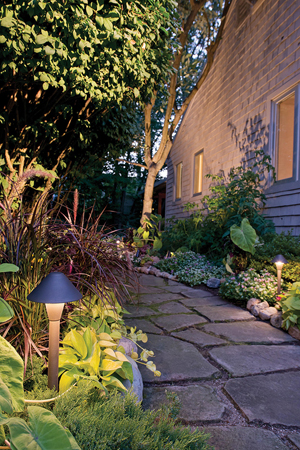
 These lights can make your home look more inviting for family and friends, and they’re a good safety measure.
This fairly simple do-it-yourself project can probably be done in a few hours, along with time for a trip to the hardware store. First, measure the area you want to cover and estimate how many lights you need. You will be taking a sketch and measurements to the store.
You will power up these lights by using an outdoor GFCI or ground fault circuit interrupter outlet. There are probably several of these outlets outside; if not, have some installed by a licensed electrician. If you have existing GFCIs, make sure they work properly.
At the hardware store or home center you’ll buy a kit including lights, 100 feet of low-voltage cable and a transformer to convert your home’s current into low-voltage current for the lights. Get a high-quality transformer that’s slightly bigger than the total wattage of the lights you will use. You may want to buy two smaller transformers instead of one large one.
Follow instructions on the kit. The hardest part of the job will probably be digging a shallow trench for the cable that carries power to the lights.
###
Photo Credits:
- Apron Front Sink: Kohler
- Oven: General Electric
- Pathway Lights: Kichler
RELATED CONTENT:
- DIY Projects: How much time should I allow?
- BLOG: Insider Tips about Faucets
- DIY Q&A: DIY Projects that Require a Permit
- DIY Q&A: How to Properly Store DIY Materials
- Search our DIY Home Improvement Database & Library
- Weekly Podcast: Subscribe Here!
Print this page
recent post
- Duck, Duck, Duct! How Often Should Ductwork Be Cleaned?
- Vinyl vs. Fiberglass Windows: Which Is The Better Choice Of Replacement Window?
- We May Be The Grand Canyon State, But The Rocky Mountains Are Important For Arizona
- Welcome to Arizona! Things A Newbie to Arizona Should Know
- The Pros & Cons of Buying A Flipped House
- Getting In On The Ground Floor
- Why It’s More Critical Than Ever To Get Your AC Serviced Before Summer
- The Reality of Remodeling
- What To Look For When Comparing Your Roofing Quotes
- What To Expect When Buying New Windows & Doors
